
When you are setting up a server that needs a web server front-end with an HTTPS interface, the normal process is to follow the following four steps:
- acquire a fully qualified domain name from your DNS registrar for your web server
- acquire a static public IP address from your ISP
- acquire an SSL certificate from your SSL vendor
- setup firewall rules to allow HTTPS and HTTP traffic to your web server
However, there may be situations when
- You may not have another static public IP address available
- Your port 443 and port 80 are already occupied by your other web services so there is a conflict
- The SSL certificates are managed by other IT person and you are not familiar with HTTPS best practices at all
- You are not familiar with the firewall administration and don't want to touch the firewall.
Now, if the above situation fits you, use Cloudflare Argo Tunnel.
Prerequisite:
Please review this Cloudflare documentation first before proceeding. This Cloudflare document describes setup in two groups of steps in our context here.
- Create a Tunnel
- Run the Tunnel as a Windows Service
Create a Tunnel:
In this step, you don't have to do it directly on the web server. As a security best practice, we recommend this step be done away from the web server on your secure workstation.
1. Create a Cloudflare account.
When you create a Cloudflare account from scratch, there is an empty view first and you will need to "Add a site". The site has to be a domain name without any sub-domain. In the following example, triofox.dev is a domain that is capable of containing sub-domains. You will need to point the name servers of your domain to designated Cloudflare name servers. The on-screen guide will guide you through the steps.
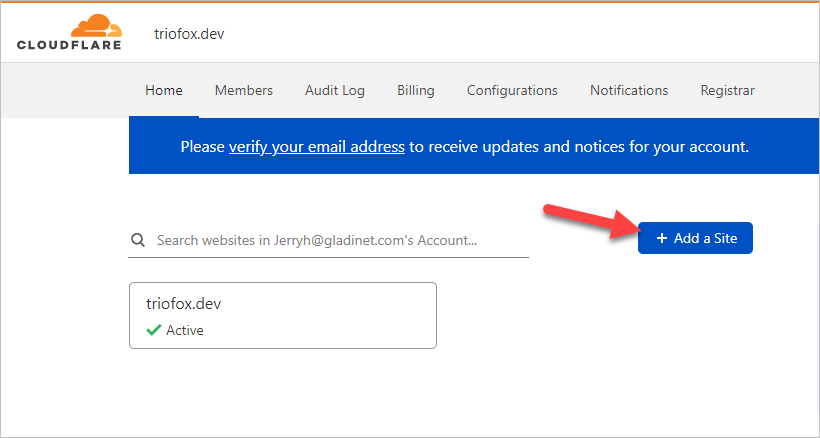
Once this step is done, you will see your domain shows up with a green checkmark (Active).
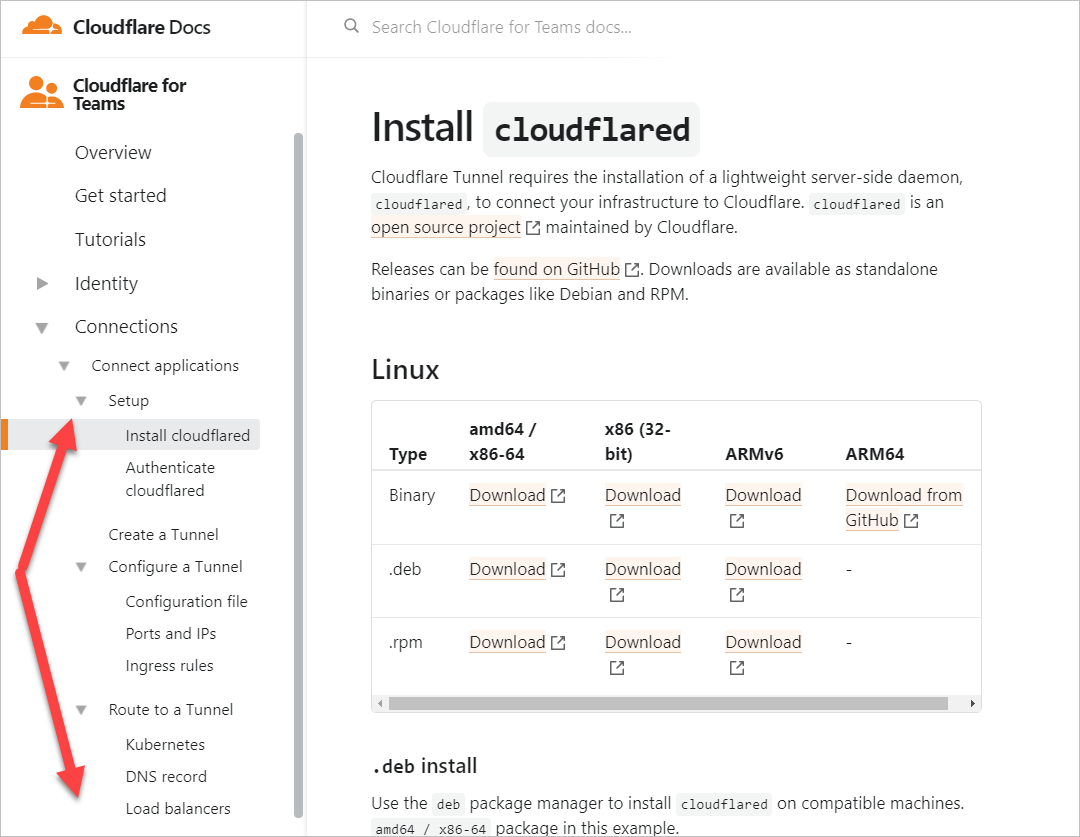
2. Create a Cloudflare Tunnel (Admin side)
If you are referencing the Cloudflare documentation at the same time, this step covers the setup steps from "Install cloudflared" all the way to "Route to a Tunnel". These steps are configuration steps that doesn't need to be on the web server but can be done securely from an admin workstation you prefer.
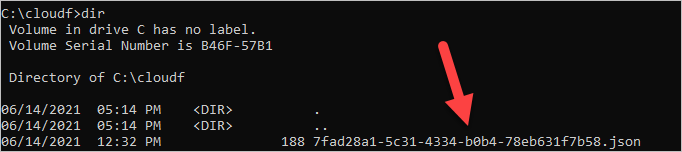
After this step is finished, you shall have two files, one is a json file that contains the secret for the web server to use the tunnel. and the second file is a configuration file about the details of the tunnel.
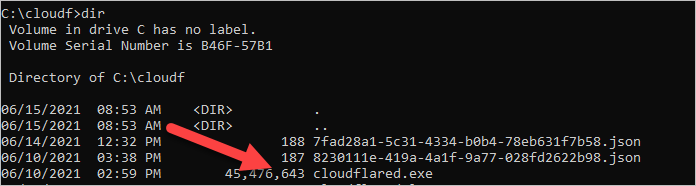
In the following example, you can see the tunnel json file is named as <GUID>.json.
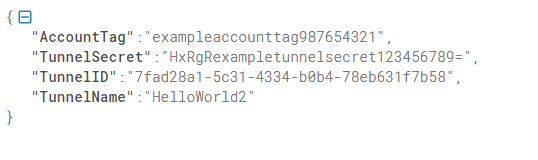
If you inspect this file, you will see it is a text file with content similar to this screenshot:
The TunnelID is the same <GUID>, The TunnelName is the name you used to create the tunnel. You will need to keep the AccountTag and the TunnelSecret securely on the web server later.
You will also need a config.yml file as a text file which is similar to the following content:
tunnel: this is the same <GUID> representing your tunnel
credentials-file: This is the json file you will save/move to your web server after its creation. We recommend you create a folder on the c: drive called C:\cloudf and deposit the json file there.
url: leave it the same as to http://localhost:80
logfile: leave it the same as c:\cloudf\cloudflared.log
tunnel: 7fad28a1-5c31-4334-b0b4-78eb631f7b58
credentials-file: C:\cloudf\7fad28a1-5c31-4334-b0b4-78eb631f7b58.json
url: http://localhost:80
logfile: c:\cloudf\cloudflared.log
3. Run the Tunnel as a Service on the Web Server
If you have done the "Create Tunnel" setup work away from the webserver, you will need to download another copy of "cloudflared" on your web server, we recommend creating a folder called C:\cloudf on your web server and download it there. You can also deposit the created <GUID>.json file there.
You will also need to save the config.yml file to your Windows System 32 folder:
The folder doesn't exist until you create it:
C:\Windows\System32\config\systemprofile\.cloudflared

In this example, you can see the config.yml file and the example content.

Now we are ready to setup Cloudflared as a Windows Service.
You can go to the folder c:\cloudf where you downloaded the json file and the cloudflared.exe, and run this command:
cloudflared.exe service install
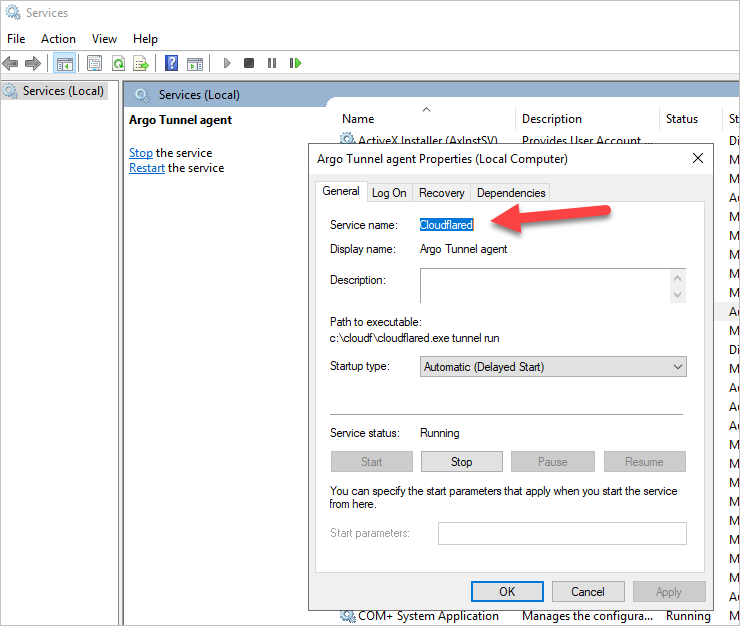
This will register the cloudflared.exe as a windows service. However it is missing command line arguments and we will need to add it to the service parameters. If you open the service in control panel, you will see "Argo Tunnel agent" is setup as a service. and inside, the service-name is "cloudflared". However, if you try to run the service, it will fail to start, because it is missing the "tunnel run" parameters.

There are two ways to add the start parameters "tunnel run" to the service:
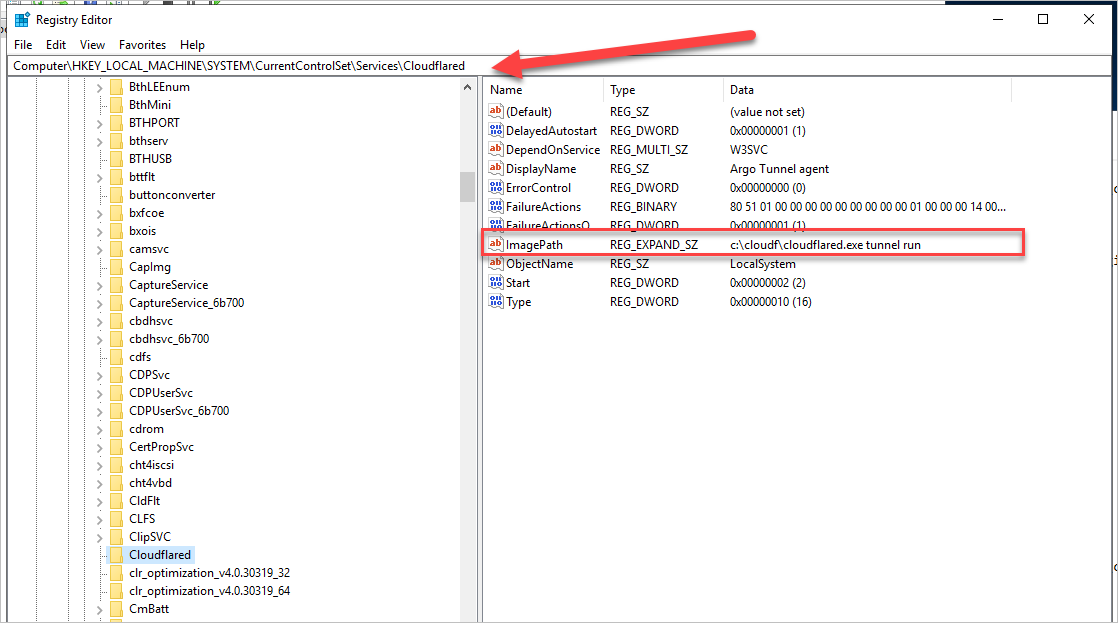
You can use RegEdit, browse to \\HKLM\SYSTEM\CurrentControlSet\Services\Cloudflared and append " tunnel run " to the end of "ImagePath"
Now, if you try to start the service manually, you shall be able to.
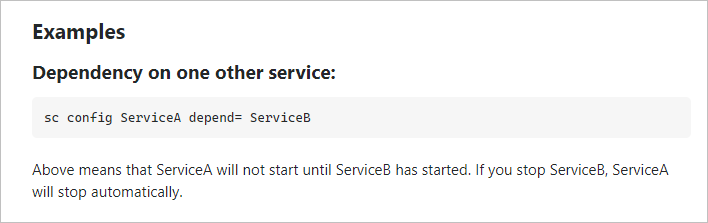
We are not done yet, we will try to set it up as autostart for the service. We will add the dependency of the "cloudflared" service to the "W3SVC" service. The W3SVC is the IIS web server service.
The command to run is:
sc config cloudflared depend= W3SVC
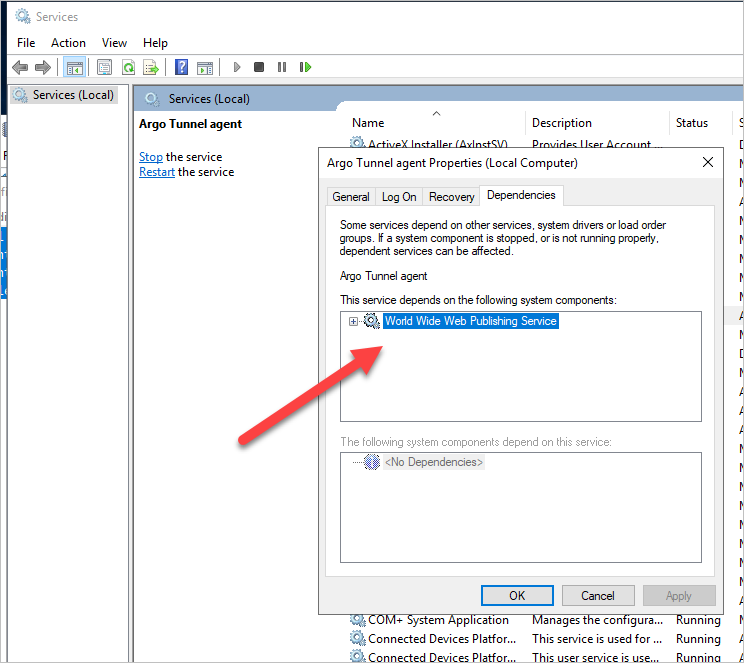
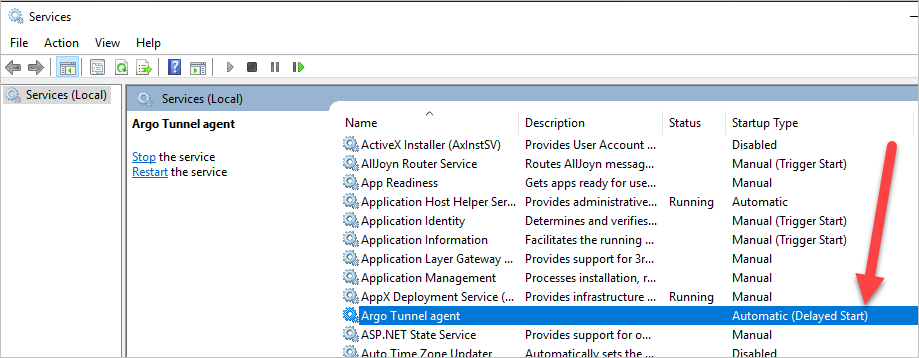
we also recommend setting the "Argo Tunnel Service" as "Automatic (Delayed Start)" Startup type.
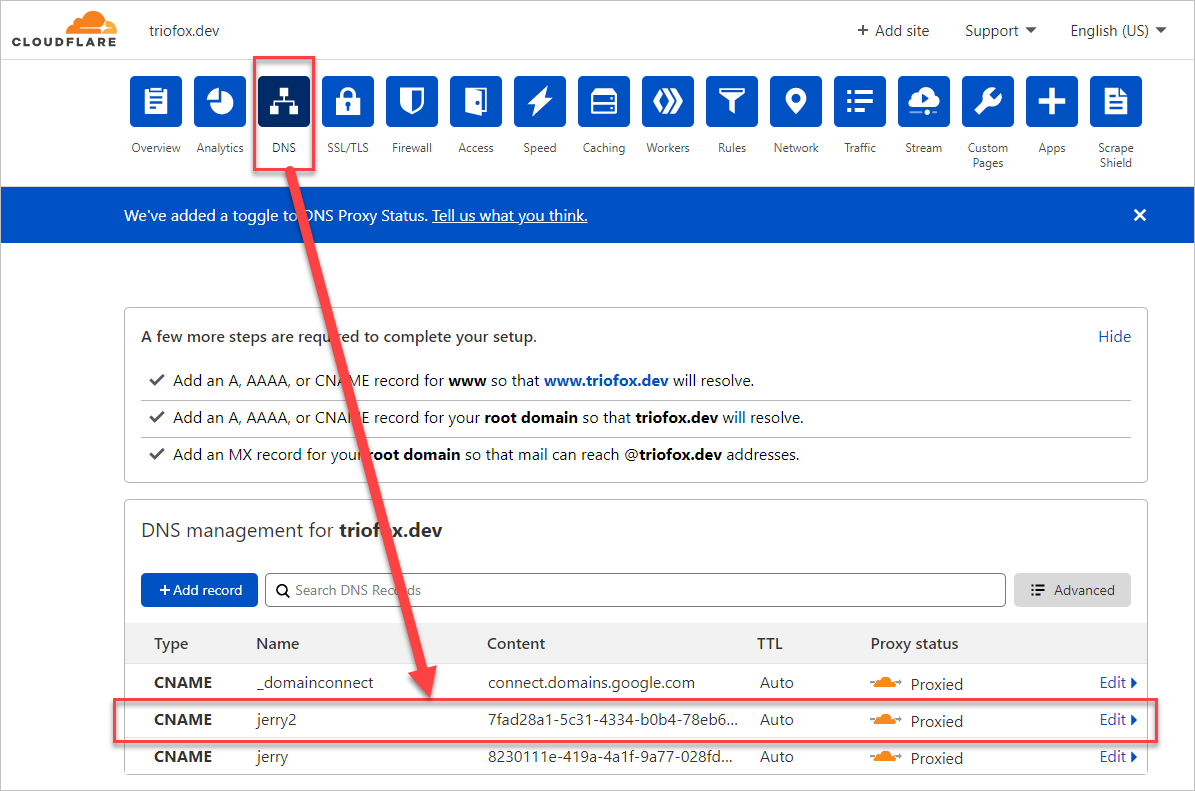
4. troubleshooting your setup
1. In your cloudflare account, you shall see a CNAME record pointing to your tunnel-GUID.
2. The "Argo Tunnel Service" is started in the web server machine.
Once you verified the step 1 & 2, you shall be able to use https://your-cname.your-domain to access your web server.
Comments
0 comments
Please sign in to leave a comment.