
Background
The ProntoForms mobile solution makes it easy for remote workers to collect data on a mobile device, access company data in the field, and automatically share the results with back-office systems, cloud services, and people. It helps businesses to track, analyze, and continuously improve processes.
Triofox is a Gladinet solution to provide access to the files including the ProntoForms via mobile devices as well as a web portal, Windows, and MACs with all the file system features, for example, file locking, versioning, offline access, and much more.
In this article, we will go into how to connect and present the customized and pre-filled ProntoForms via Triofox to remote users.
Pre-Requisites
You will need a working ProntoForms account so you can create the forms required by your organization. If you already don't have a ProntoForms, you can signup for a trial account here https://www.prontoforms.com/get-started?opt=start-trial
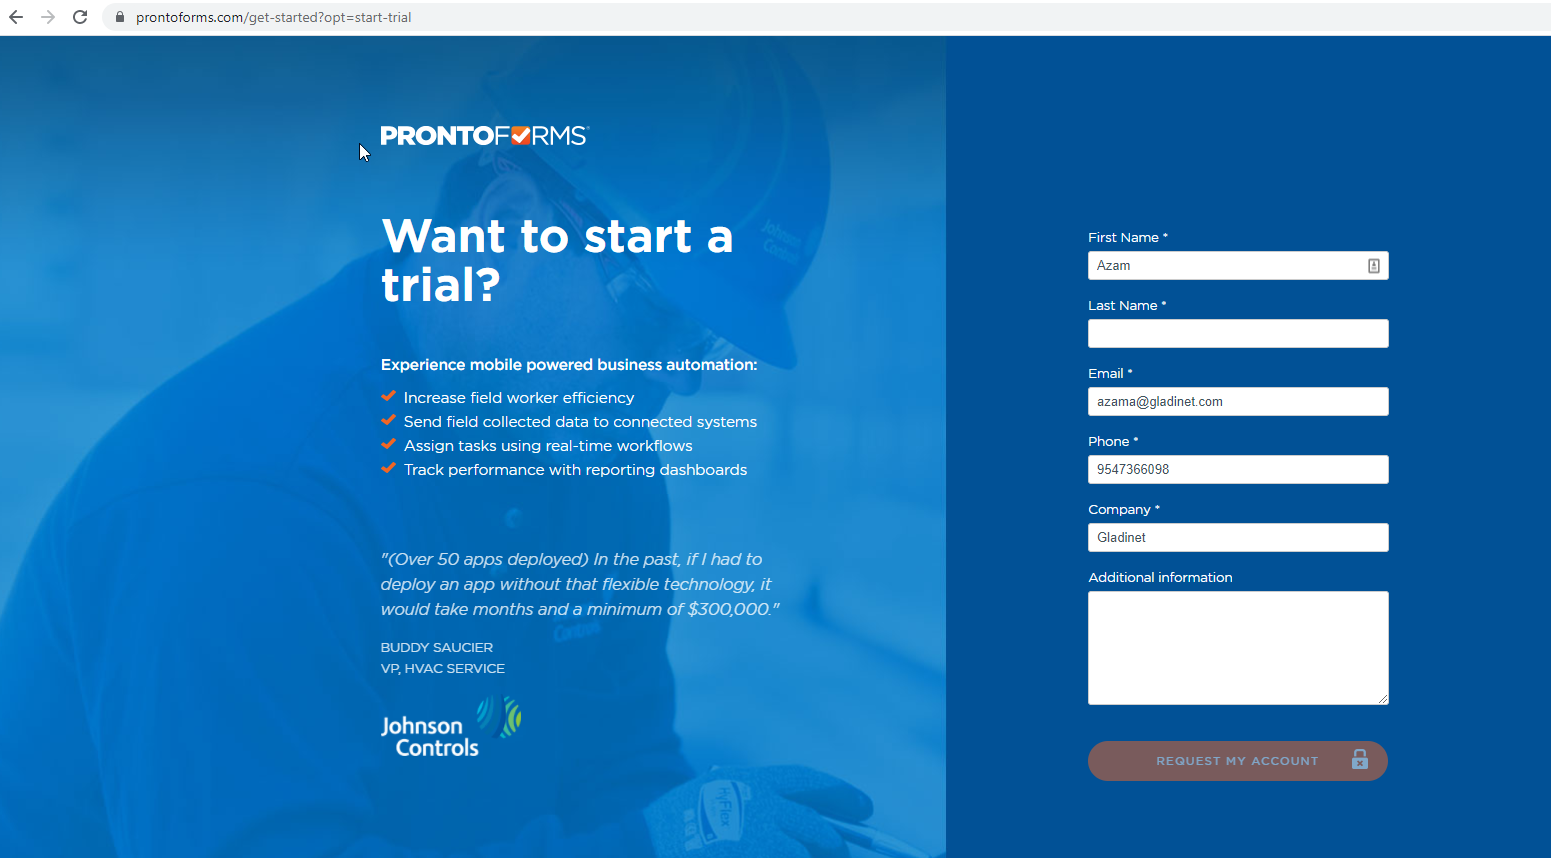
You will then receive an email from ProntoForms with a link to their web portal and your username. You will be prompted to create a new password upon initial login. After you log in, you can view quick videos on for example how to 'Build a Custom Form' and more under 'Get Started'.
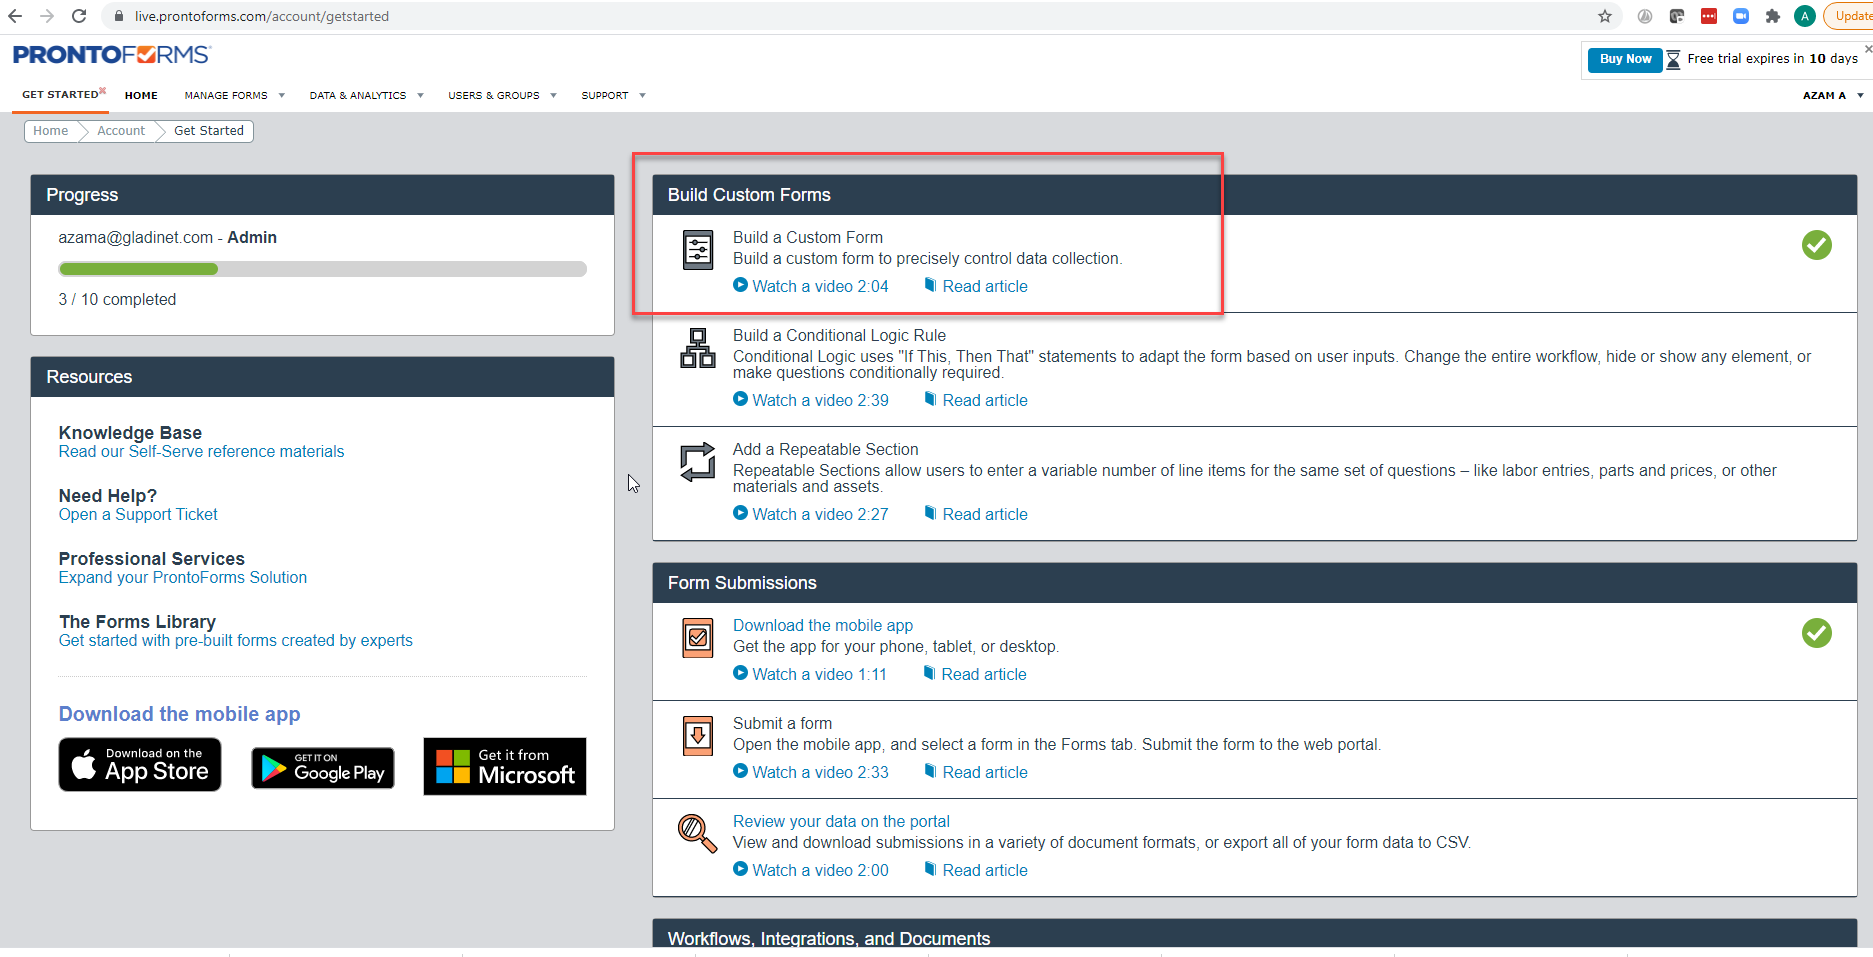
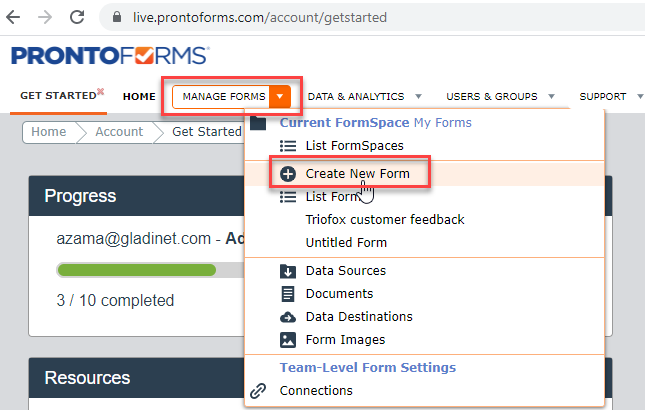
How to Create a New Form
1. Click the down arrow under 'Manage Forms'
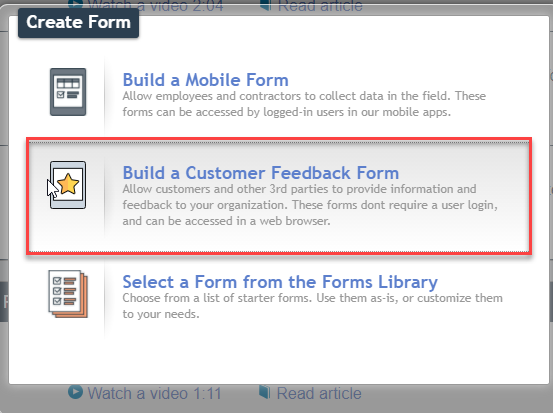
2. Choose the type of form you want to create in the 'Create Form' window. Here we will create a 'Customer Feedback Form.
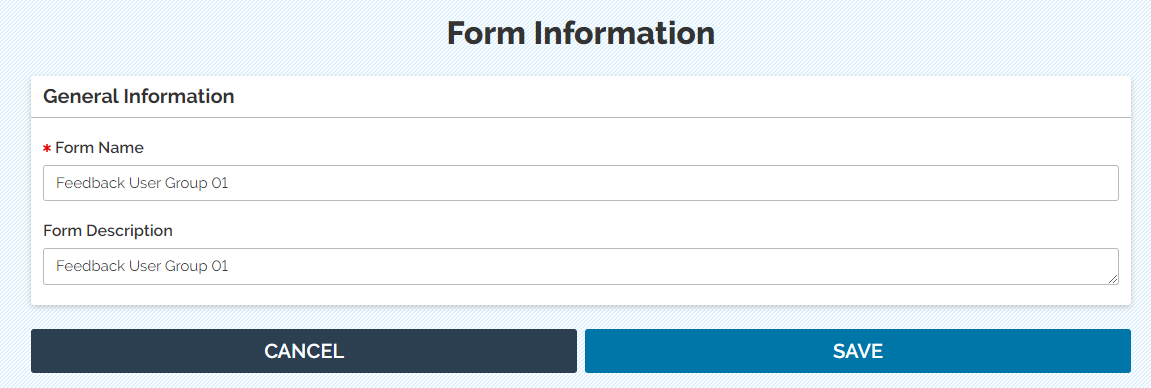
3. Enter the 'Form Name' and 'Form Description and click the Save button.
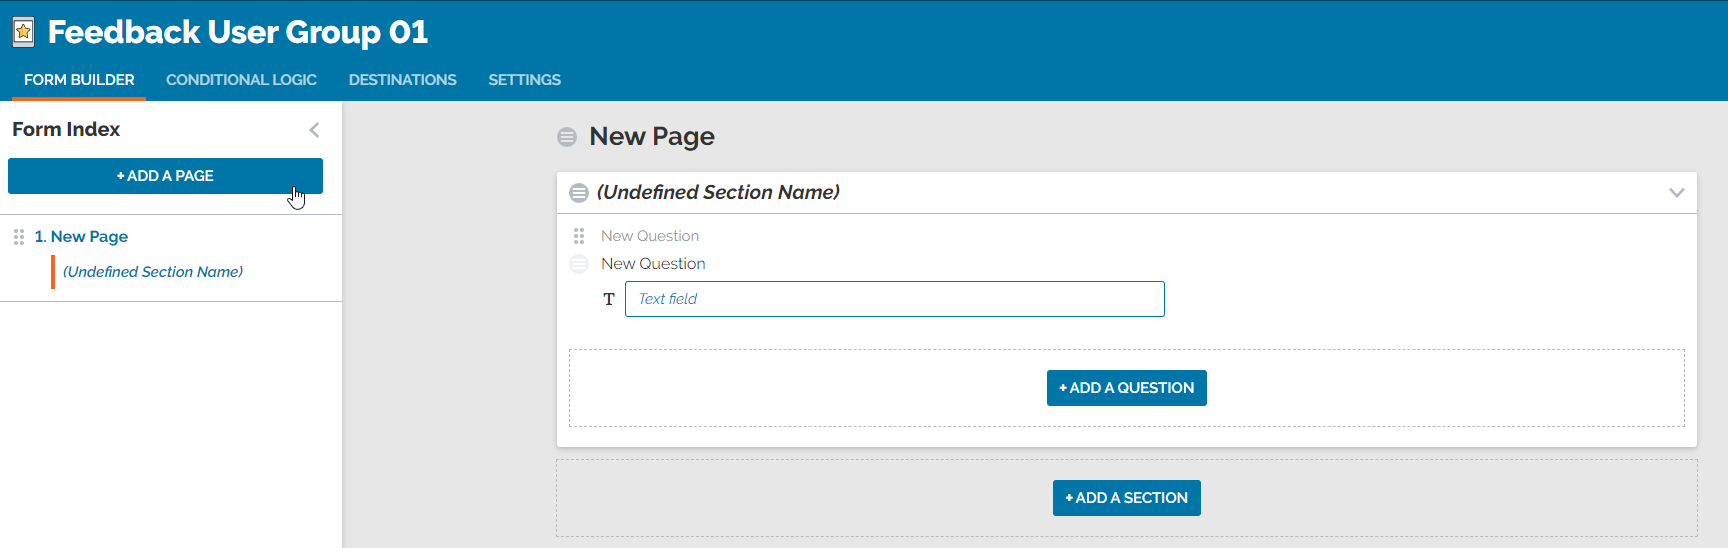
4. Add a question and/or a section on the next screen.
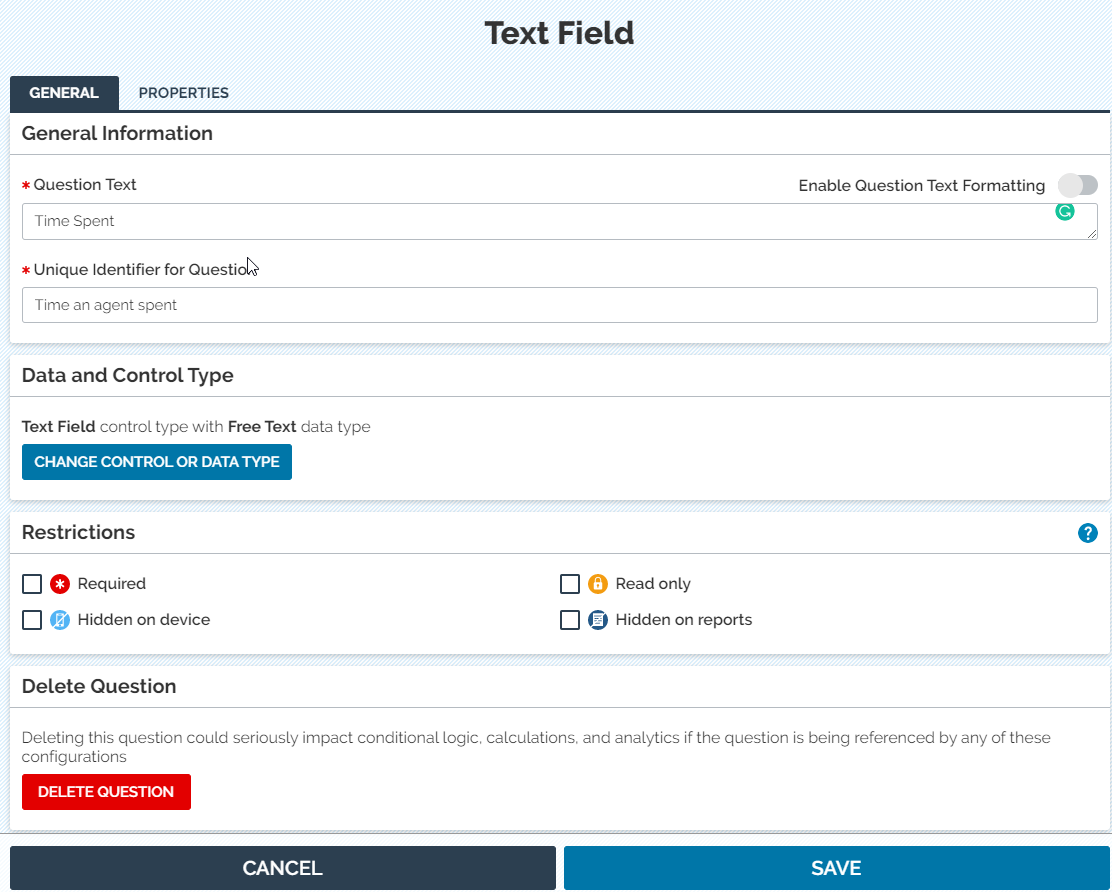
5. Type in the 'Question Text' and 'Unique Identifier for Question' on the next screen and click Save.
Now that you have a form created, you can specify the destinations which can be used to present the form to your remote users.
Integration with Triofox
Before you can integrate with Triofox, you will need a working Triofox environment and also externally accessible URL for example https://tfdemo1.hadroncloud.com/
If you don't have a working Triofox, you can download the free 30-days trial here https://www.triofox.com/management/mytriofox/signup
For Triofox installation, please refer to the installation guide here https://www.triofox.com/docs/install_doc2/
Steps to Integrate with Triofox
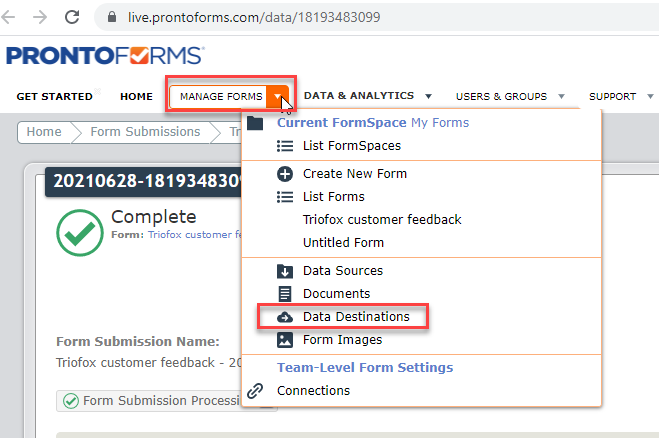
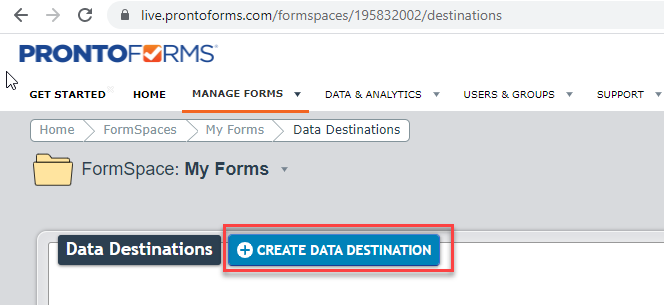
1. Click on 'Manage Forms' and then choose 'Data Destinations' in your ProntoForms web portal.
2. Select 'Create Data Destinations' on the next screen.
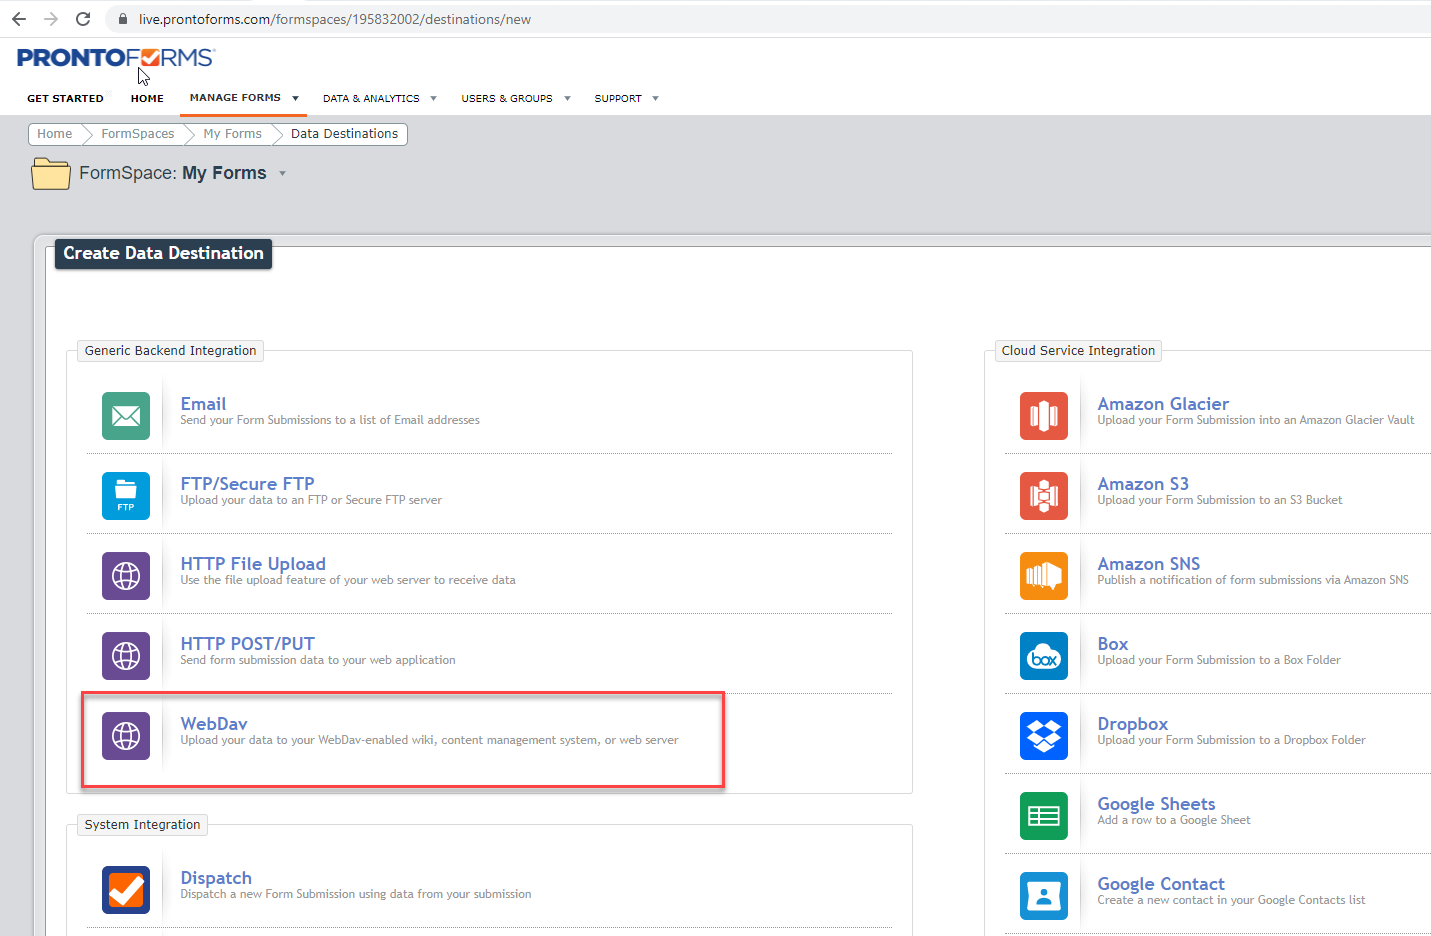
3. Choose WebDAV on the next screen.
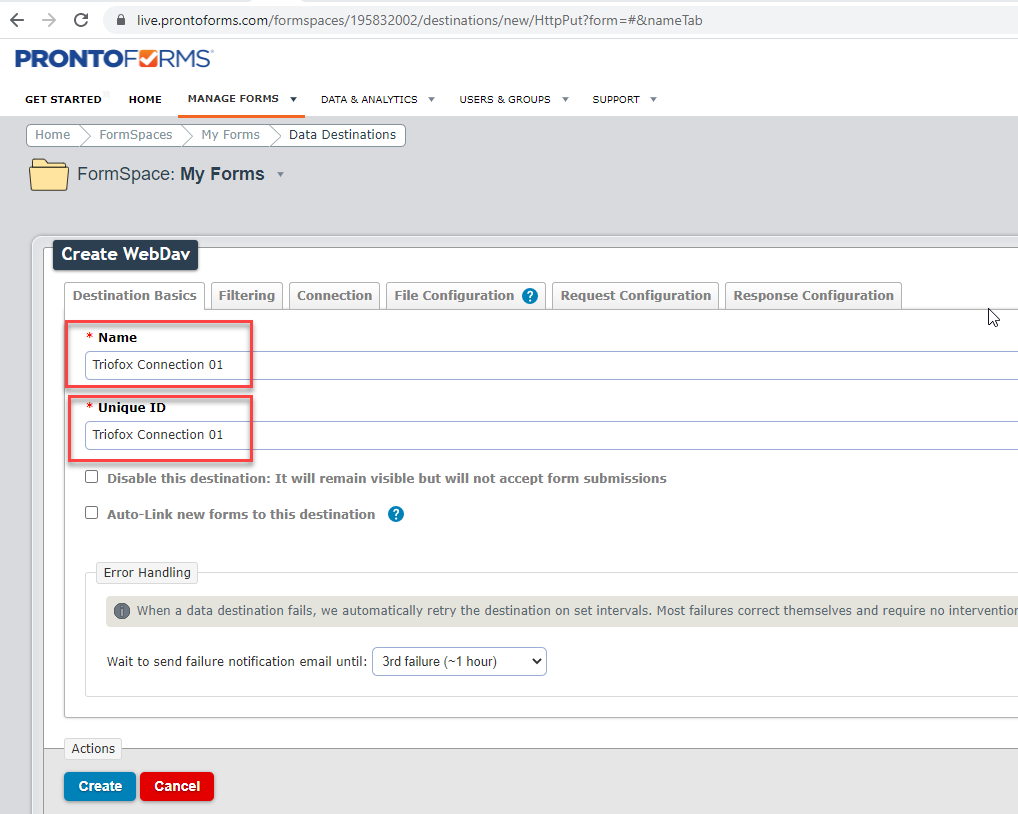
4. Specify a name and a unique ID on the next screen under the 'Destination Basics' tab and click 'Create'.
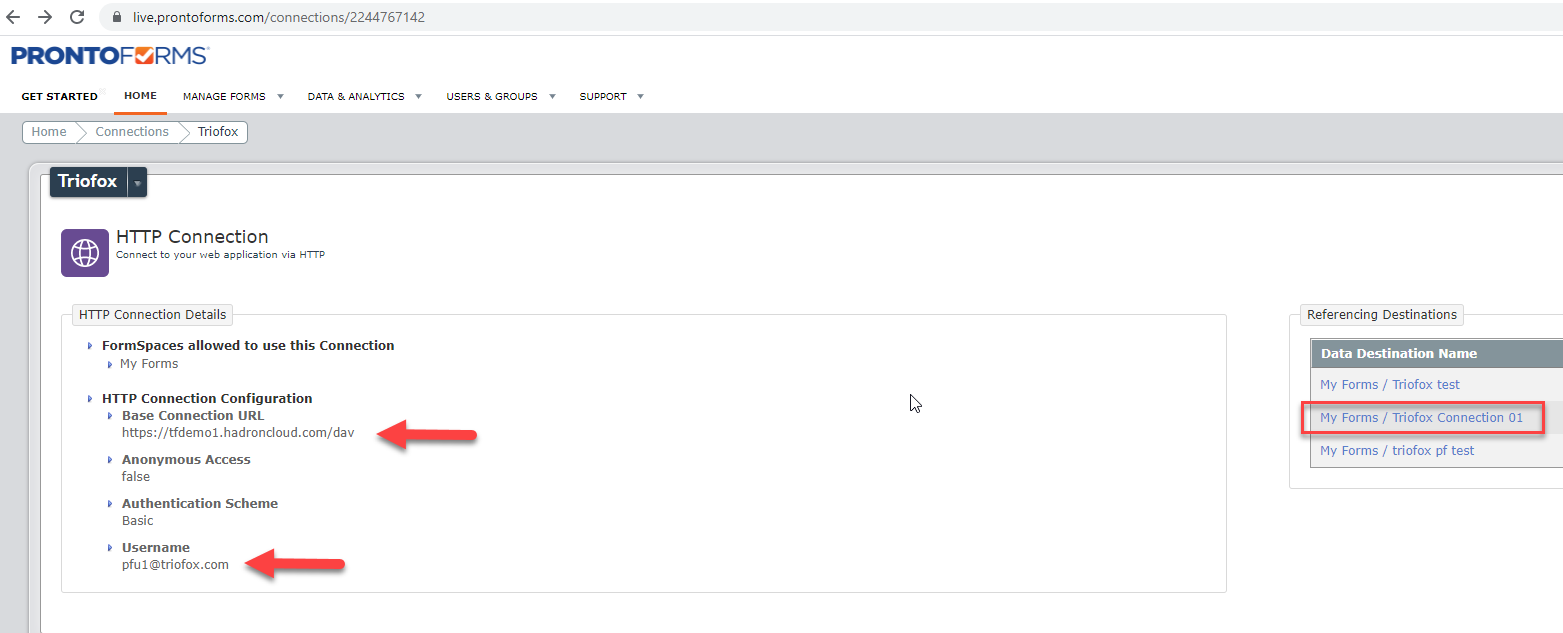
5. HTTP WebDAV Connection details for the external Triofox Access URL along with the Triofox user who will receive this form should be as shown below:
6. Once all the information has been added in the above steps, you can see the distribution URL as well as the form diagram.
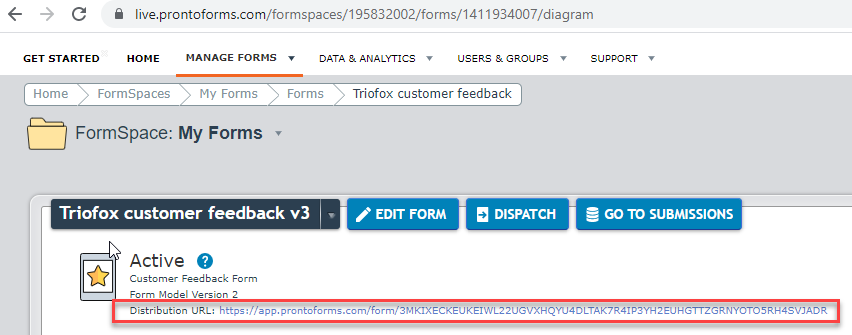
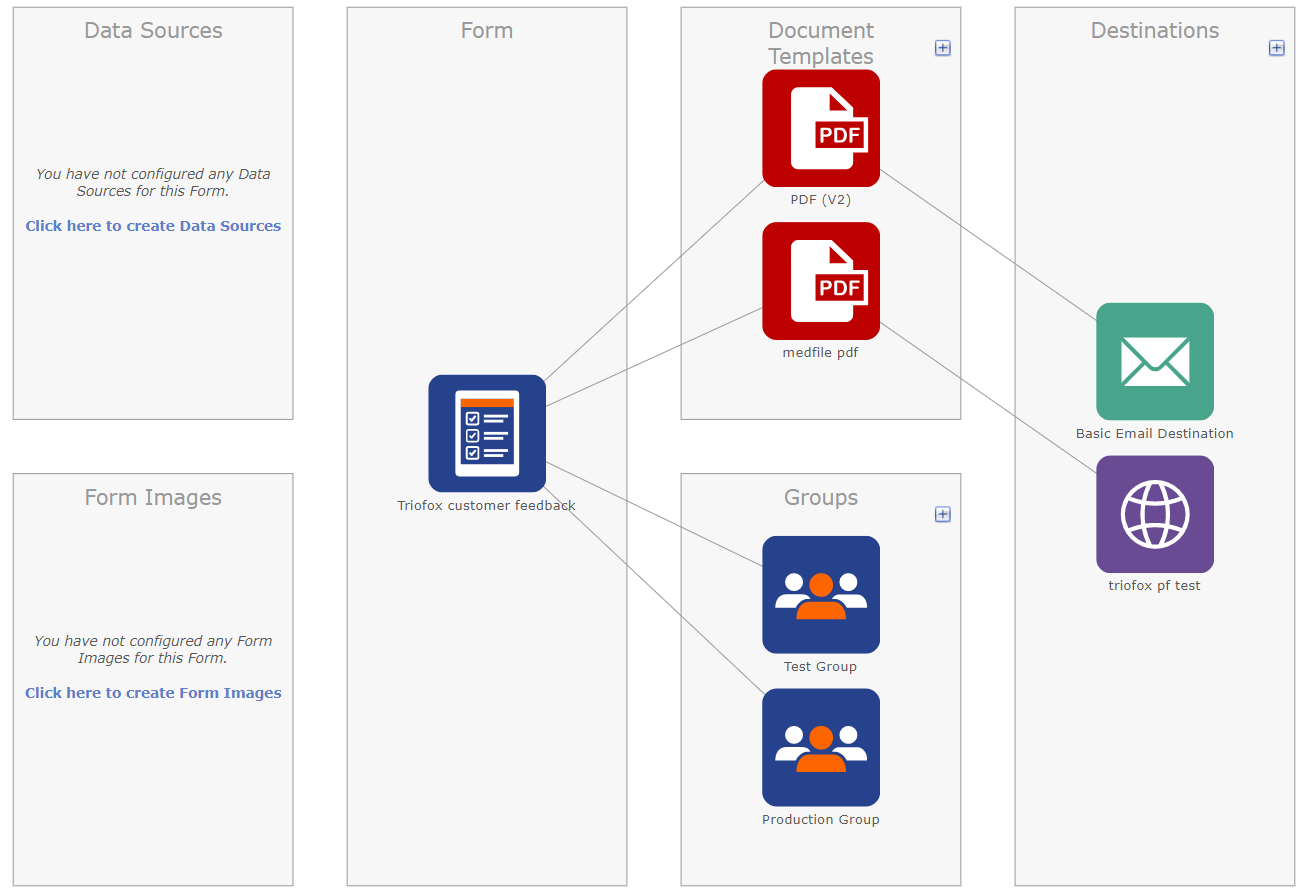
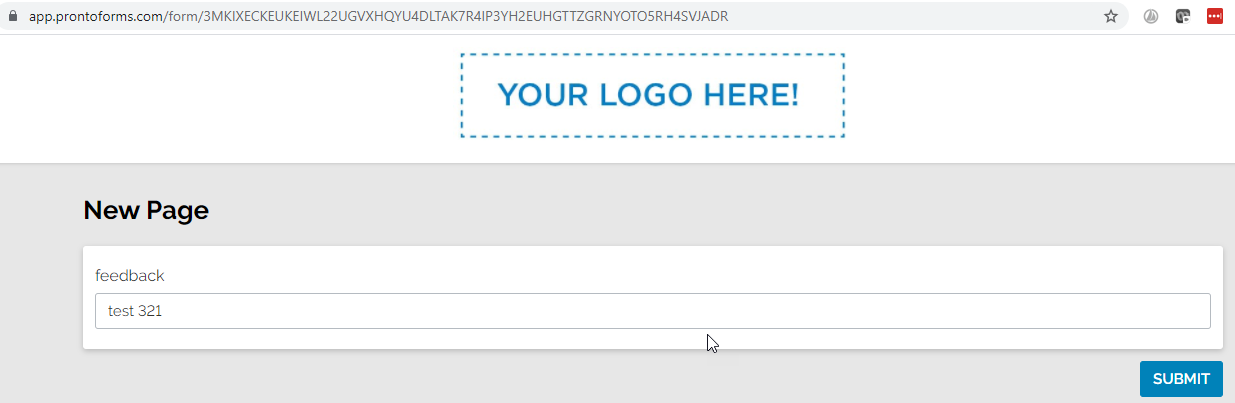
7. You can choose the distribution URL and paste it into your browser to see the newly created form and enter some text in the feedback field and click 'Submit.
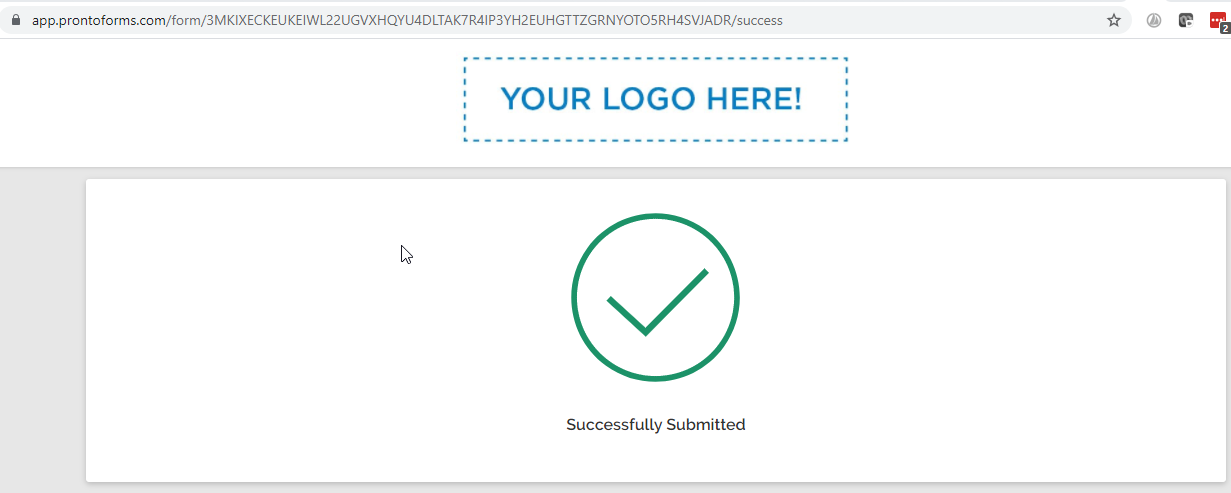
8. Upon successful submission, you will see the screen below.
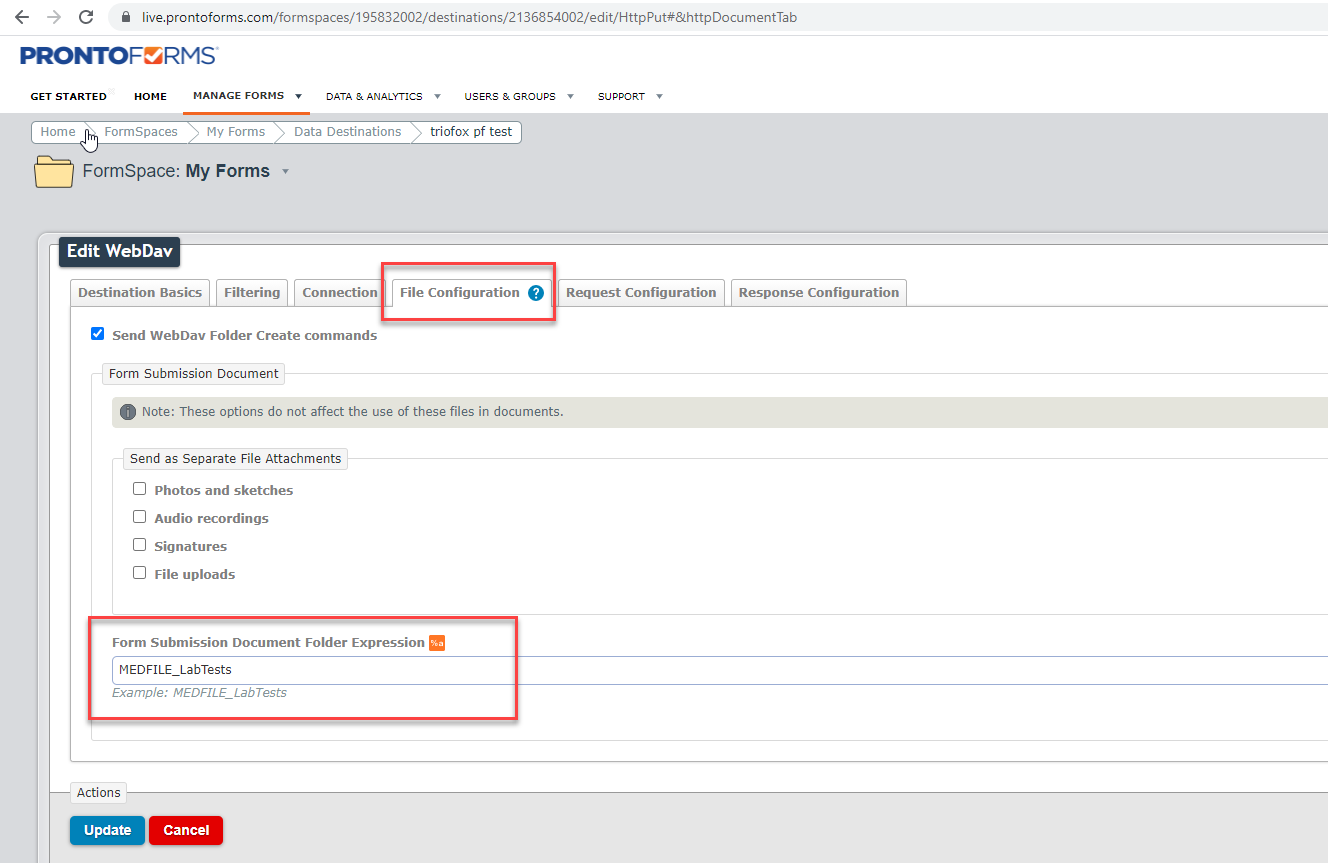
8. If you need to send the form in a specific folder at the destination, you can specify the folder name under the 'File Configuration' tab.
Final Steps:
1, Now log into Triofox using the user account which was used in the Data Destination above.
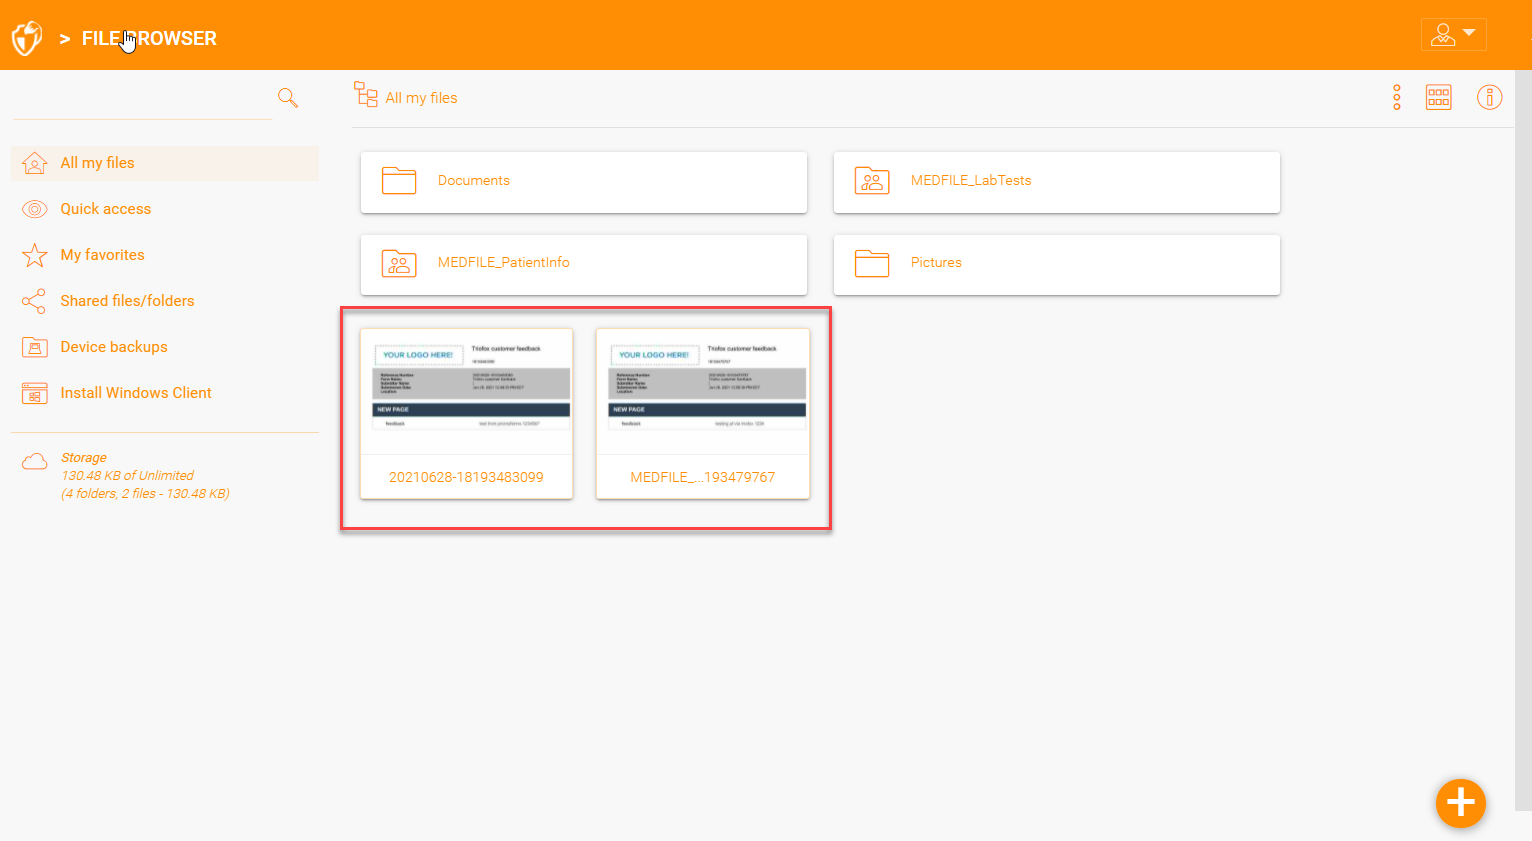
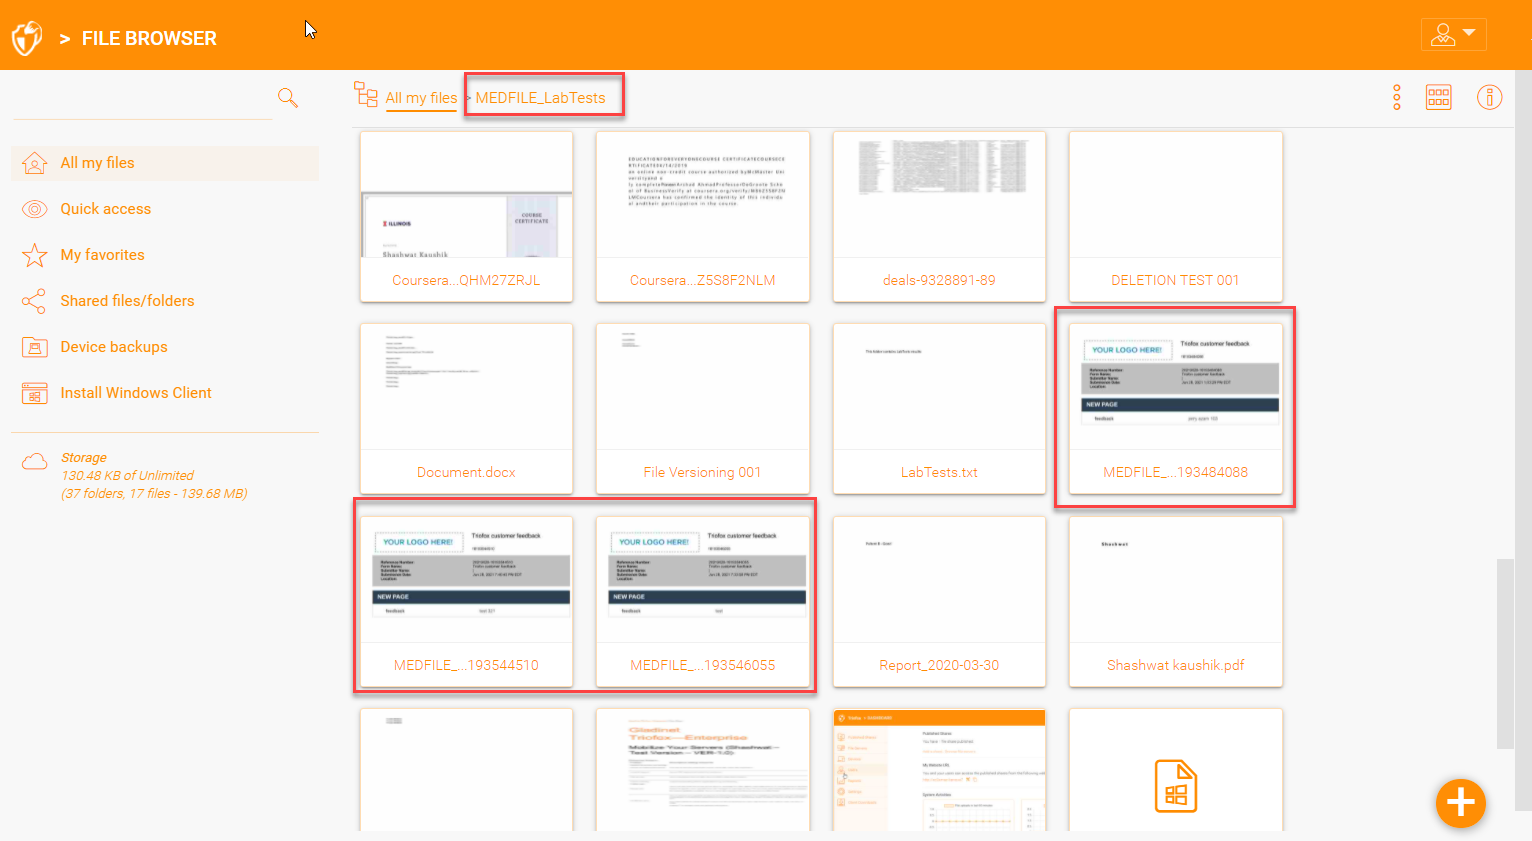
2, You should now see the 'ProntoForm' that we created in the root web portal and also inside the folder if a folder parameter was specified under 'file Connections'
Comments
0 comments
Please sign in to leave a comment.